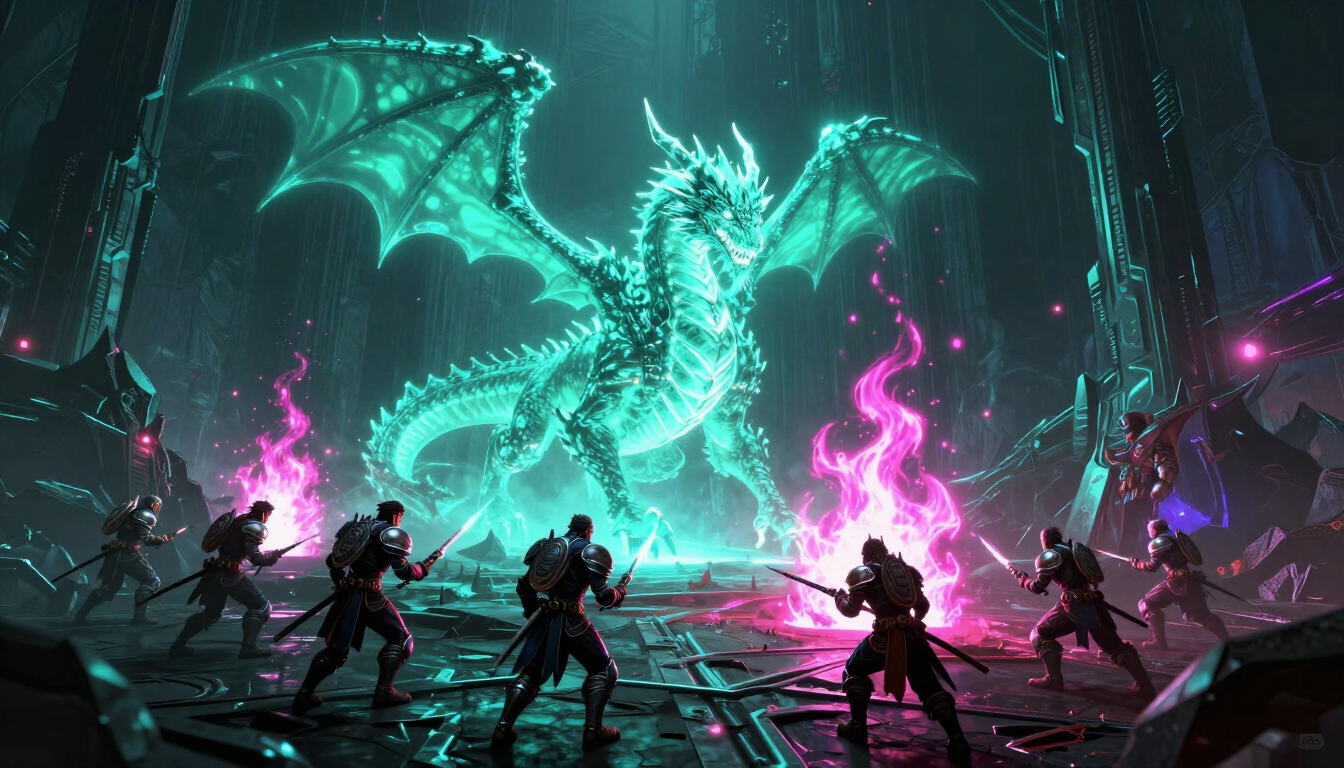
Void Sector Raid — Mechanics Deep Dive
## Overview: Why Void Sector Punishes Complacency More Than Any Recent Tier Void Sector is the current endgame raid tier designed explicitly to punish mechanical complacency. Each boss introduces a new layer that references mechanics from the previous encounter — understanding the design intent is the first step to progressing efficiently. This guide covers all eight bosses with the focus on the four that have stopped the most guilds: Aetheric Voidlord, Twin Shades, Cascade Archon, and the final encounter. ## Boss 1: Aetheric Voidlord (8/8) **Phase 1 — The Positioning Phase:** The boss spawns in the center and immediately begins rotating its frontal cleave in a clockwise direction. The tank must rotate their position to keep the cleave aimed away from the group while maintaining enough distance for the healers to stay inside the healing range circle (16 yards). The most common wipe on this encounter is a tank who repositions laterally instead of circularly, sending the frontal cleave through the ranged cluster. **Phase 2 — Void Rupture assignments:** At 65% and again at 35%, the boss will target three random players with Void Rupture — a ground effect that must be dropped at designated markers on the floor. Pre-assign your three designated Rupture spots (Left, Center-Left, Center-Right) and communicate assignments in raid. The critical error here is ranged DPS panicking and dropping ruptures in the center of the room, destroying the safe zones for the rest of the raid. **Cooldown assignment for Voidlord:** - Tank CD #1 at pull (absorbs the opener buster) - External on tank at 20 seconds (the first Void Crush lands here) - Second tank CD at 50% transition - Raid-wide defensive CD at 35% (the most intense damage moment in P2) **The mechanic that kills top guilds:** At 20%, Aetheric Voidlord begins casting Infinite Collapse — a wipe mechanic with a 6-second cast time that is interrupted by dealing 15% of the boss's maximum health in a single damage window. Every DPS cooldown must be held for this moment. Pre-plan which players go first with their lust/bloodlust assignments. ## Boss 4: Twin Shades (Heroic/Mythic) Twin Shades is a two-boss encounter where both bosses must die within 5 seconds of each other. The mechanic chain that makes this encounter notoriously difficult: **The Sync mechanic:** Every 45 seconds, both bosses cast Mirror Phase simultaneously. During Mirror Phase, the mechanic each boss uses becomes shared with the other — whatever debuff lands from Shade A also lands from Shade B. If you are not coordinating which debuffs your tanks are soaking, you will have overlap that kills. **DPS coordination:** Split your DPS 60/40 — slightly more on the boss that has higher health, adjusting in the final 20% as you accelerate the lower-health boss to execute. The 5-second window is tight; if you are not running a DPS tracker that shows both boss percentages simultaneously, you will miss the window on 80% of your attempts. **The bleed stack mechanic:** Both bosses apply a stacking bleed debuff that resets on a tank swap. Tank swap at 4 stacks — not 3, not 5. At 3 stacks, you are swapping too frequently and disrupting the DPS rotation. At 5 stacks, the healer cannot compensate for the damage intake. ## Boss 7: Cascade Archon (Mythic only) This is the gating encounter for world-ranked guilds. Cascade Archon operates on a strict enrage timer and a mechanic pattern that requires a minimum of three attempts just to understand the timing. **The Cascade mechanic:** Every 30 seconds, the boss launches a series of void orbs in a fan pattern from the current tank position. Players must move through the gaps in the fan — the gaps rotate 15 degrees between each wave. Raid-call the safe zones on a 5-count: "Wave 1 — Right gap. Wave 2 — Center gap. Wave 3 — Left gap." Designate one caller only; two callers results in conflicting information and instant wipes. **Enrage mitigation:** The Archon's enrage is countered by activating three Void Conduits at 80%, 50%, and 20%. Each conduit requires a tank to soak a 3-second channel — tank CDs must be coordinated across all three activations. Map them out before the pull: - Conduit 1 (80%): Tank 1 uses personal CD, External from healer - Conduit 2 (50%): Tank 2 uses personal CD, External from second healer - Conduit 3 (20%): Tank 1 uses second personal CD, Raid-wide defensive ## Log Analysis: How to Find Your Actual Problem Download WarcraftLogs. Filter each wipe to the moment of death. Look for: - **Death by AoE during a mechanic:** Player was in the wrong position - **Death by tank buster:** CD usage failure — check the CD timeline - **Enrage wipe:** DPS issue — filter to underperforming specs, check uptimes and cast counts The number one improvement most guilds find in log analysis is not rotation errors — it is players dying to avoidable mechanics and their replacements being forced to focus on not dying instead of maximizing output. Fix the deaths first; the DPS will follow. Accuracy & Verification Standards RAIDvancement's guides, blogs, and mechanics research are continuously maintained as dynamic, peer-reviewed resources.Our team actively test-verifies core gameplay mechanics alongside real-world player experiences to ensure maximum accuracy.When errors or recent patch adjustments are submitted through our dedicated Discord Correction Channel , staff aim to directly validate the data against live gameplay to deploy updates within 48 hours. Read our complete framework on our official Editorial Policy page.